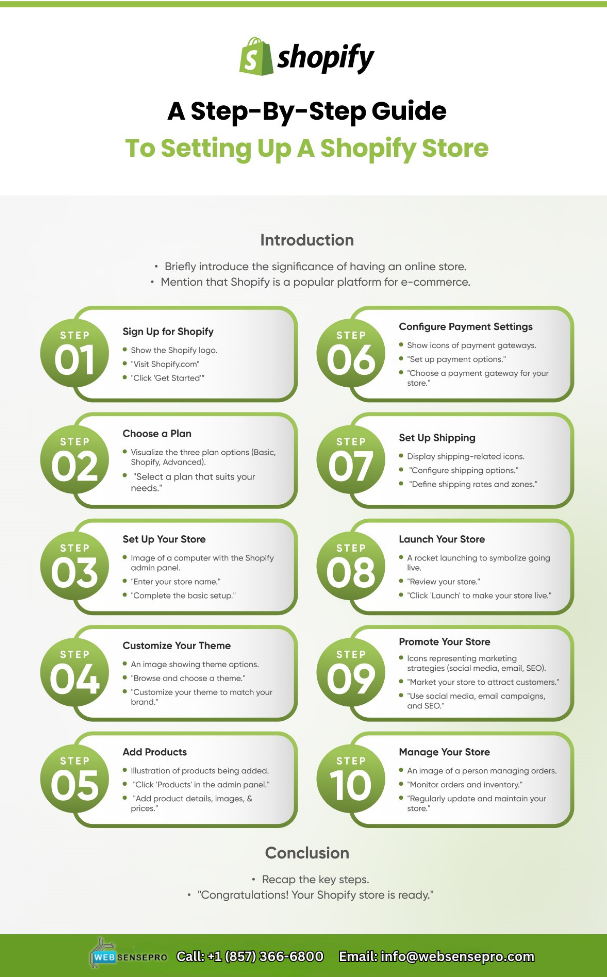
Are you ready to launch your e-commerce store? Shopify is one of the most popular platforms to build and manage your online business. With its user-friendly interface and a wide range of features, Shopify makes it easy for beginners to set up an online store. In this tutorial, we’ll guide you through the process of creating your Shopify store from scratch.
Step 1. Getting Started: Sign Up for Shopify
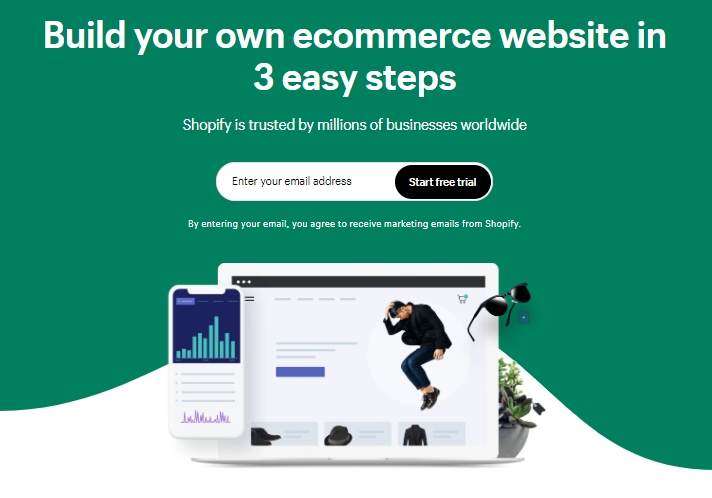
The first step is to sign up for a Shopify account. Shopify offers a 14-day free trial, so you can explore its features before committing to a plan.
Steps to Sign Up:
- Go to the Shopify website.
- Click on “Start free trial.”
- Enter your email address, password, and store name.
- Follow the prompts to set up your store.
Step 2. Choosing the Right Shopify Plan
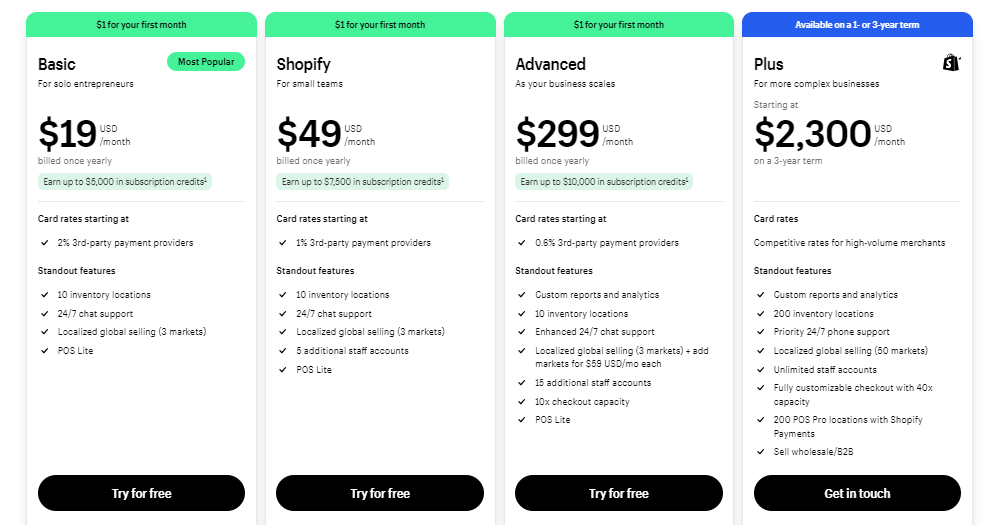
Shopify offers several pricing plans, each with different features. As a beginner, you might start with the Basic Shopify plan, which includes essential features like unlimited products, 24/7 support, and discount codes.
Plans:
- Basic Shopify: Best for new e-commerce businesses.
- Shopify: For growing businesses.
- Advanced Shopify: For scaling your business with advanced reporting.
Step 3. Setting Up Your Shopify Store
Adding Products
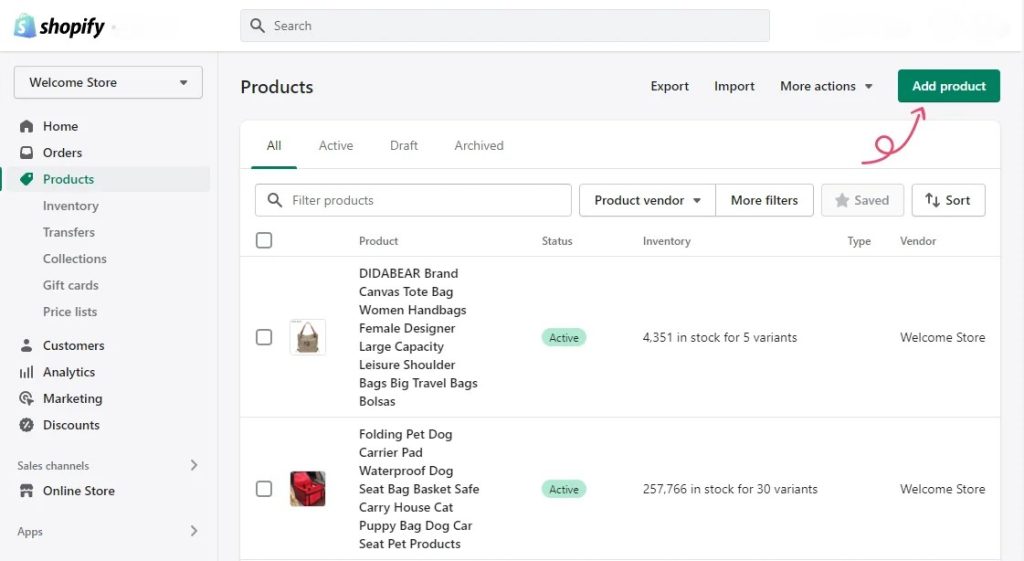
Once your store is created, the next step is to add products. Shopify makes it simple to add product details, images, and pricing.
Steps to Add a Product:
- From the Shopify dashboard, click on “Products” > “Add product.”
- Enter the product title, description, and price.
- Upload product images.
- Set inventory options and shipping details.
- Click “Save.”
Customizing Your Store Design
Your store’s appearance is crucial for attracting and retaining customers. Shopify offers a range of themes that you can customize to fit your brand.
Steps to Customize Your Store:
- Go to “Online Store” > “Themes.”
- Browse and select a theme that suits your brand.
- Click “Customize” to modify colors, fonts, and layout.
- Add your logo and customize the homepage sections.
- Preview your changes and click “Save.”
Step 4. Configuring Payments and Shipping
To start selling, you need to configure payment gateways and shipping options.
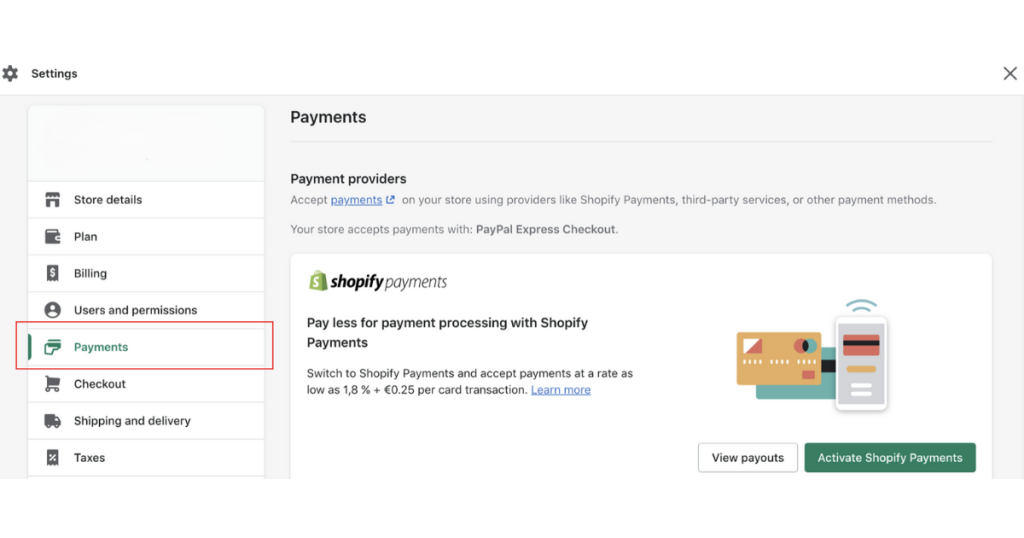
Payment Setup:
- Go to “Settings” > “Payments.”
- Choose a payment provider (e.g., Shopify Payments, PayPal).
- Follow the instructions to connect your account.
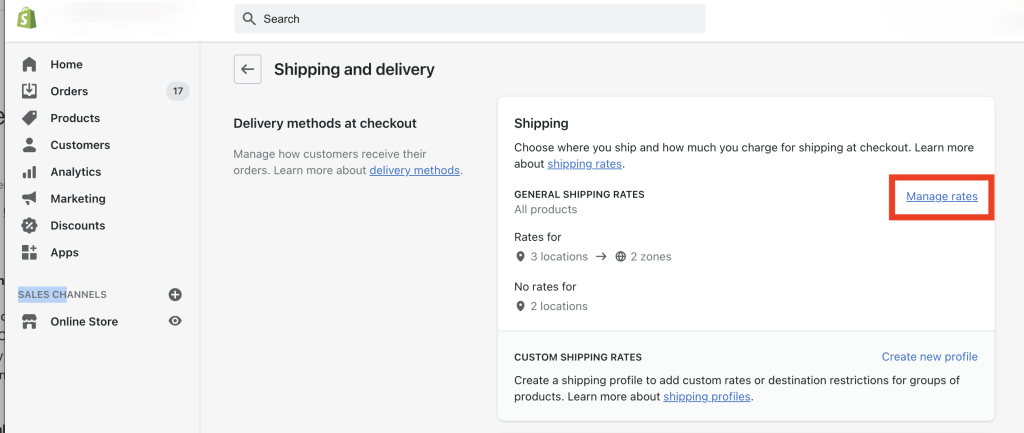
Shipping Setup:
- Go to “Settings” > “Shipping and delivery.”
- Set up shipping zones and rates based on your target market.
- Add options for local delivery or pickup if applicable.
Step 5. Managing Orders and Customers
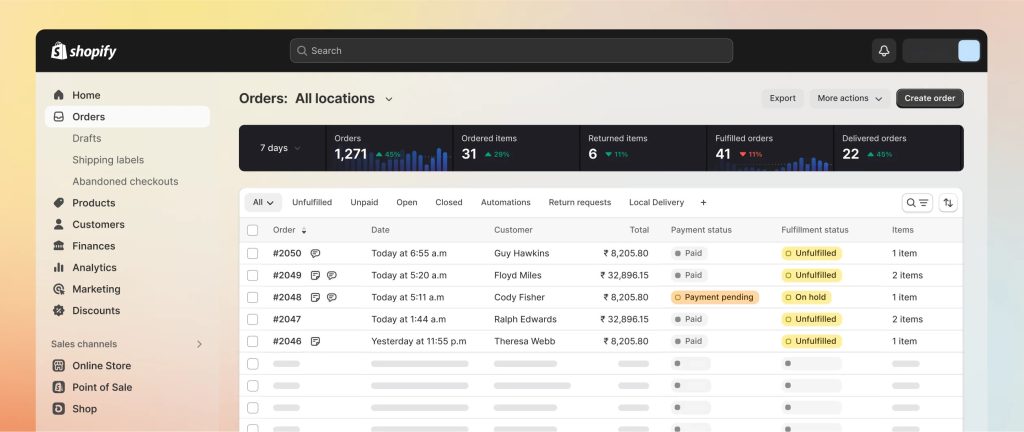
Shopify’s dashboard provides an intuitive way to manage your orders and customer data.
Order Management:
- View and process orders from the “Orders” tab.
- Print shipping labels directly from Shopify.
- Track order status and communicate with customers.
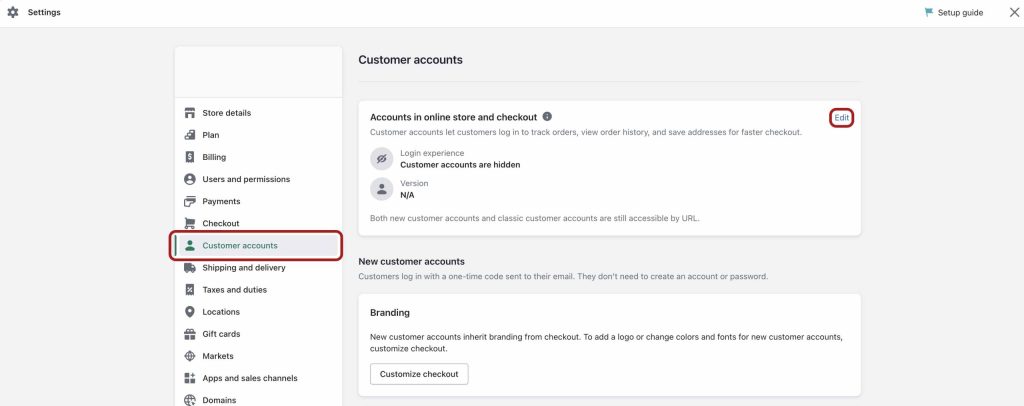
Customer Management:
- Access customer profiles in the “Customers” tab.
- Segment customers for targeted marketing.
Step 6. Launching Your Shopify Store
Before launching, review your store settings, test your checkout process, and ensure everything is working correctly. Once you’re ready, remove the password protection from your store to make it live.
Steps to Launch:
- Go to “Online Store” > “Preferences.”
- Scroll down to “Password protection” and disable it.
- Share your store’s URL with your audience.
Step 7. Marketing Your Store
Driving traffic to your new store is crucial for success. Shopify offers built-in SEO tools, social media integration, and marketing apps to help you promote your store.
Marketing Tips:
- SEO: Optimize your product pages with relevant keywords.
- Social Media: Share your store on platforms like Instagram and Facebook.
- Email Marketing: Use Shopify’s email tools to send newsletters and promotions.
- Google Ads: Consider paid advertising to reach a broader audience.

Conclusion
Setting up a Shopify store is a straightforward process, even for beginners. With this guide, you should be well on your way to launching your e-commerce business. Remember, success takes time, so continue to learn, optimize, and market your store to grow your online presence.
