.CPDuVHnr_1lfWzK.webp)

![[FREE] - How To Add Volume Discount in Shopify with Sale Badge](/_astro/_FREE_%20-%20How%20To%20Add%20Volume%20Discount%20in%20Shopify%20with%20Sale%20Badge.DeAH13EL_WMT7r.webp)
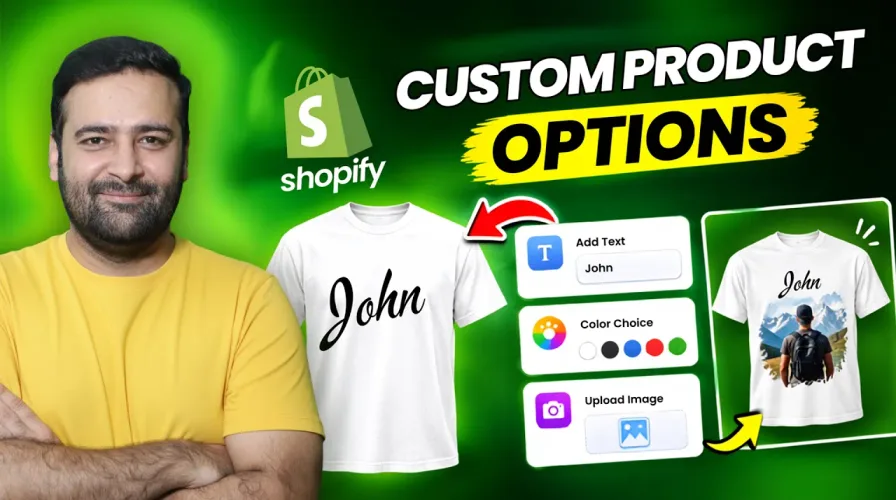
Want to let customers personalize products right on your Shopify store? Whether it’s a custom bracelet, a gift box with add-ons, or a t-shirt with a name on it - Shopify doesn’t offer this out of the box. But don’t worry, there’s an easy fix.
In this tutorial, we’ll walk you through how to add custom product options in Shopify using the WOW Custom Product Options app - step by step.
🎬 Watch the full video tutorial here: https://youtu.be/Y2VL8VPFdG0
Why Add Custom Product Options to Your Shopify Store?
Custom product options do two powerful things:
- Boost user engagement - shoppers spend more time interacting with your products
- Increase average order value (AOV) - add-ons like gift wrapping, engraving, or accessories add dollars to every order
If you’re selling personalized jewelry, custom gifts, or print-on-demand items, this is a game-changer.
What You’ll Need
- A Shopify store
- The WOW Custom Product Options app (free plan available)
- A product you want to customize
Step 1 - Install the WOW Custom Product Options App
Head to the Shopify App Store and search for WOW Custom Product Options, or click the link in the video description. Once you find it, click Install Now and follow the prompts to add it to your store.
The app has a free plan to get you started, and if you want a discount on paid plans, there’s a 10% off coupon code mentioned at the end of the video.
Step 2 - Enable the App Embed
After installing, the first thing you’ll see is the Setup Guide inside the app dashboard.
Here’s what to do:
- Click “Enable App Embed”
- Click “Enable” - Shopify will automatically turn it on through your theme settings
- Click Save
- Go back to the app and refresh - you’ll see a green checkmark confirming it’s active
This step is required by Shopify for all embedded apps, so don’t skip it.
Step 3 - Create Your Option Set (Use a Template!)
Now it’s time to set up the actual product options. Click the ”+” button to create a new option set. You’ll see two choices: Create from Scratch or Use Template.
We recommend Use Template - it gives you ready-made, professionally designed option sets so you don’t have to build everything manually.
Some of the available templates include:
- Personalized Necklace
- Custom Gift Box
- Pet Portrait
- Basic T-Shirt Customizer
- Personalized Bracelet
Search for the one that fits your product. For this tutorial, we’ll use “Custom Gift Box” as an example.
Step 4 - Customize Your Option Fields
Once you open a template, you can edit every field to match your brand and products. Here’s what you can customize:
Field Types Available:
- Text fields (for names, messages)
- Checkboxes
- Dropdown menus
- Image swatches
- File upload (for custom photos)
Pricing Options per Add-On:
- Fixed price
- Percentage-based
- Free add-on
- Product upsell (link to another product in your store)
Extra Settings You’ll Love:
- Tooltip descriptions — show a popup when customers hover over an option
- Help text — display hints below or above a field label
- Min/Max selection limits — control how many options a customer must or can choose
- Image style — swatches, image only, or image with title
- Column width — adjust the layout of option images (33%, 50%, 100%)
- Shape styling — add border radius or make images circular
Take your time here. The more thought you put into your options, the better the shopping experience for your customers.
Step 5 - Enable the Live Personalizer (For Text or Image Overlays)
This is where things get really cool. The Live Personalizer lets customers see their customization directly on the product image — in real time.
For custom text:
- Click on the text field inside your template
- Toggle on “Enable Live Personalizer”
- Adjust the X and Y position to place the text exactly where you want it on the image
- Set opacity, rotation, and text effects as needed
- Click Save
For custom image uploads:
- Delete the text field and add an Upload Field instead
- Click “Add One Field” and enable the Live Personalizer
- Set the shape (circle works great for overlaying a logo area)
- Set the image width, height, and position
- Set a max file size (2–3 MB recommended for PNG files)
- Click Save
Once saved, customers can upload their photo and see it appear right on your product — before they even add it to the cart.
Step 6 - Apply the Option Set to Your Products
Your option set is ready. Now you need to tell Shopify which products to show it on.
- Inside the option set, click “Applies To”
- Choose from:
- Specific Products — hand-pick individual products
- Specific Collections — apply to a whole category
- All Products — show on your entire store
- Click Select Product, choose the product, then click Save
Refresh your product page and your new custom options will appear live on your store.
Step 7 - Test It Like a Customer
Always preview your product page after making changes. Here’s what to verify:
- ✅ All option fields are showing up correctly
- ✅ Add-on prices are calculating and updating the total
- ✅ Live personalizer is displaying text/images on the product image
- ✅ The cart shows all selected options and the custom design
- ✅ Checkout displays add-on details for the store owner to fulfill
Bonus: What the Customer Experience Looks Like
When a customer shops a personalized product on your store, here’s what happens:
- They see the customization options below the product description
- They enter their name, pick an icon, choose add-ons, or upload a photo
- The product image updates in real time to show their customization
- They add to cart — the cart saves all their selections plus a design preview image
- You (the store owner) see every detail in the order — including the custom image they created
This makes fulfillment easy and gives customers confidence that their order will come out exactly as designed.
Final Thoughts
Adding custom product options to your Shopify store is one of the easiest ways to stand out, increase customer satisfaction, and grow your revenue per order. The WOW Custom Product Options app makes it straightforward — especially with the ready-made templates.
Start with the free plan, test it on one or two products, and scale from there.
👉 Watch the full video tutorial: https://youtu.be/Y2VL8VPFdG0 💰 Get 10% off the paid plan using the discount code in the video description.
Have questions about setting up your custom product options? Drop them in the comments below - we’re happy to help!