

Intro
Why adding an SVG Logo? Because it’s really good quality and it doesn’t get blur as compare to the PNG’S in JPEG’S and Shopify doesn’t have a direct way to do it.
Step 1: Upload SVG Logo in Assets Folder
First, go to your Theme Settings click on Actions, and hit on Edit Code. Now upload SVG logo in the assets folder, add a new asset by clicking on Add a new asset as per the screenshot below:
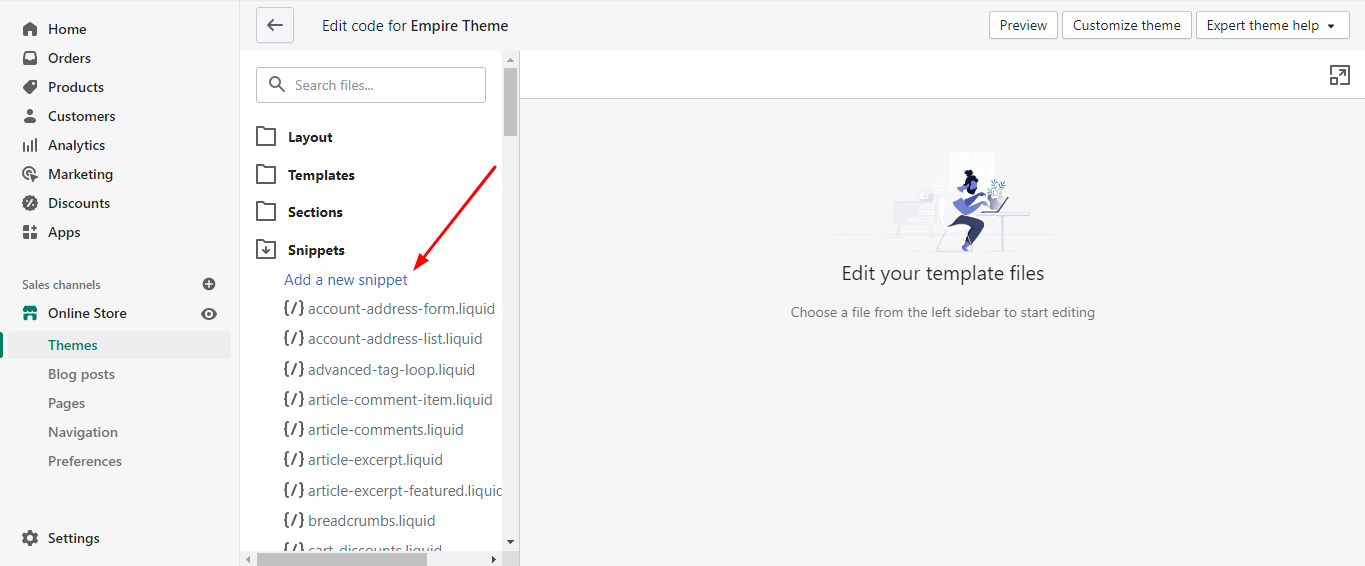
Upload asset(assuming you already have your SVG Logo) then rename it to “logo.svg” now find the header.liquid file.
Step 2: Adding Code in static-header.liquid File
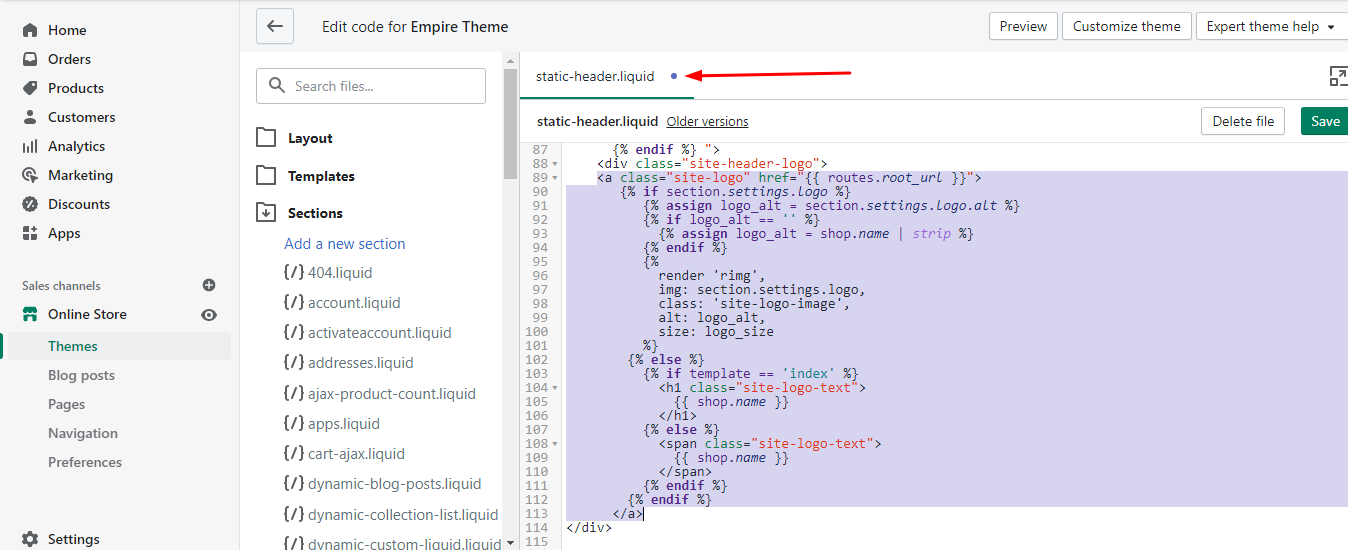
Search for site-header-logo in static-header.liquid file from line number 89 to line number 113 replace with this code with the one you see below:
 <a href="{{ routes.root_url }}" class="site-header__logo-image{% if section.settings.align_logo == 'center' %} site-header__logo-image--centered{% endif %}">
{% capture image_size %}{{ section.settings.logo_max_width | escape }}{% endcapture %}
<img src="{{ 'logo.svg' | asset_url }}"
alt="{{ shop.name }}"
style="max-width: {{ image_size }}px; width: 100%;">
</a>

2 thoughts on “How to Add SVG Logo in Your Empire Theme Shopify”
Hello, will this tutorial work for Out of the Sandbox – Superstore theme? They are made by the same people Pixel Union.
Please test and let us know if it works